The first real challenge (hopefully the only one) to building my electric scooter is fabricating the fairing. For the uninitiated, the fairing is the part of the scooter that protects you (a little) from wind, rain and crud that flicks up off the wheels.
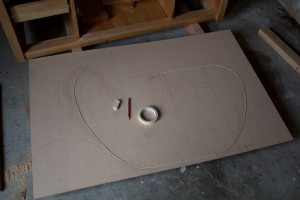
I have decided to form the fairing as a single piece of curved timber by laminating together several sheets of ply, of different types, around a former. The first part of this is to decide the fairing shape, and then to cut a pattern from 6mm MDF (Medium Density Fibreboard Custom Wood). I did this by laying the scooter on top of the MDF and tracing the frame. The fairing shape was then drawn freehand on the MDF (pencil and a lot of eraser) until the final design was reached. In the following photo you will see a string laid out along the pencil line. This is to check that the circumference of the fairing is not longer than the sheet of ply (2400mm).
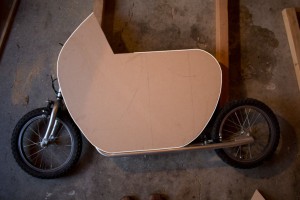
The pattern was then cut out with a jigsaw and the edges cleaned up with sandpaper, taking care to ensure the curves are smooth and flowing. The following photo shows the finished pattern placed back on the donor scooter for a final size check. I’ve traced around the image in white to show where the fairing will go.
The pattern was then transferred on to a sheet of 18mm MDF by tracing around it with a pencil. Four of these formers were cut from a single sheet of MDF (1200mm x 2400mm) also with the jigsaw. Eventually the formers will be evenly spaced (using timber spacers) to provide a total width of around 300mm, which will be the width of the fairing.
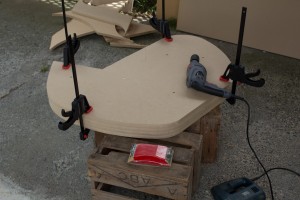
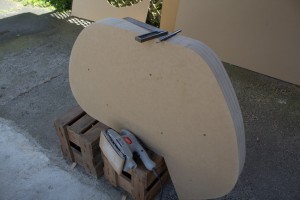
The cut formers were stacked on top of each other, lined up as accurately as possible, and clamped together temporarily while they were fastened with 6 long screws. The screws ensure that the formers are tightly held together while the edges are finished. Which is of course the next step – using a Palm sander to shape all four formers as one. Because the fairing will be shaped around all four formers, it is important that they are as identical to each other as possible.
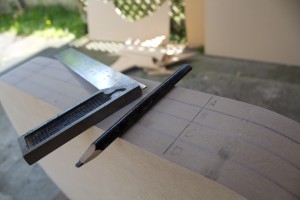
Once the formers are finished with the sander, I marked right across the width of all of them in several places with a set square. This will help line them up later when assembling the final form with spacers between each sheet.
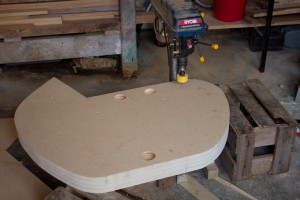
The next part of the process is to drill the holes for clamping. The flexible plywood will be laminated and bent around the form and will need clamps to hold it in place. The holes in the the two outer layers of MDF will give the clamps something to purchase. I am using a holesaw attached to my drill press to drill the clamping holes. These are around 50mm in diameter.
