If this thing is going to be used for the daily commute, I better make sure it is comfortable to sit on. And looks cool.
As with many parts of this project, this will be another ‘first’ – leather upholstery. Surprisingly, ‘the internet’ does not seem to have a very large wealth of information on this topic. Maybe I should have got one of those paper things from the local book hiring place. I decided to wing it.
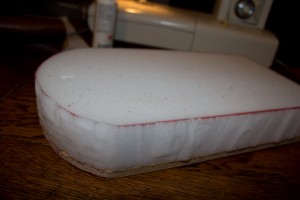
The first step was to cut some foam (left over from a friend, Mike’s, completely kick-ass poker table build) to the required shape, and glue it to the seat base. I had a simple, retro design in mind with a two-colour racing stripe – which luckily was not that complicated.
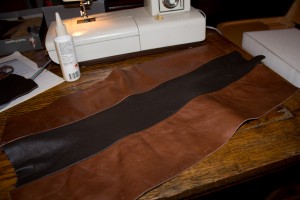
Pulling out the leather supplies from previous projects, I found some suitable pieces in the right colours. I pulled out the sewing machine and read the manual again. No, really. After sewing a couple of test pieces to get the thread tensions right, I got right on it and sewed up the leather. The seams were folded over and glued back on the underside to keep them flat (not shown).
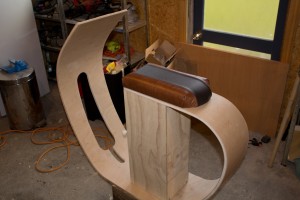
Borrowing said-friend’s electric staple gun, I upholstered the seat by stretching the leather over the foam and stapling it into the base. The corners were difficult due to the thickness of several layers of leather where the pleats are folded. I’m still not happy with them and may add some stitching by hand at a later date.
Here is the finished seat in-place. Yeehaw!


