I completed the fairing over the weekend and test-fit it to the scooter. It is really starting to take shape!
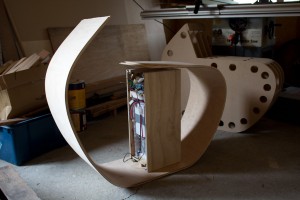
The last lamination was glued up, and after allowing it to cure was removed from the form. Spring-back was surprisingly minimal, as can be seen below with the battery box in place. Pushing the fairing lightly by hand brings it in to alignment.
As mentioned in a previous post, laminations are peeling in places where the glue has dried too much and lost its bonding ability before the work was properly clamped. This is due to using a glue with a short open time (10 minutes). This will be repaired as much as possible before final assembly by forcing glue into the gaps (some back-bending may be required) and some localised clamping.
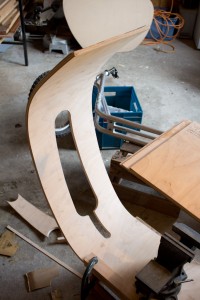
Next I cut out the shape to fit the tubes that make up the existing scooter frame. This was done by laying the fairing on its side on top of the scooter and marking where the tubes intersect the fairing. Big radii were cut with a hole saw and connected using a jigsaw. Lots of filing and sanding finished the job.
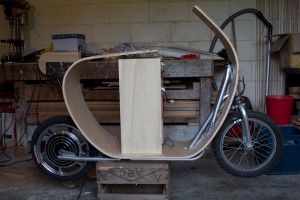
Test-fitting the fairing over the frame shows that the cut-outs are in the right place. Now we can finally see the (approximate) final shape!


