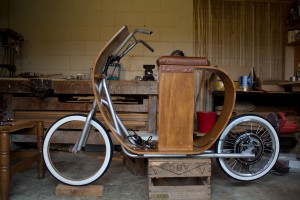
I had the newly welded frame of the bike, plus the forks and handle bars, sand-blasted and powder-coated. The closest colour that they had to chrome is a colour called ‘sparkles’. And yes, it is as disco-barbie as it sounds, with bits of glitter all through it. It doesn’t look too bad though, as only small parts of the frame are visible.
With almost all the bits on hand – just waiting for the front wheel now, it was time to assemble all (well, most of) the bits.
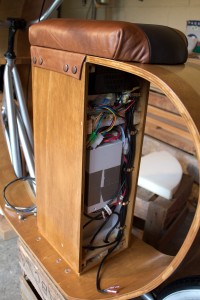
I added some clips inside the box to tidy the wires – not much room in there! There used to be space at the top, but I have now mounted the battery charger under the seat.
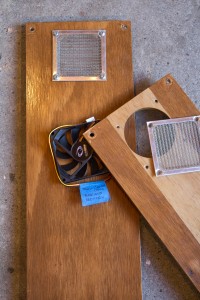
Here are the ends of the battery box, ready to install. In the end there was not even room for the cooling fan, so I have left it out. Hopefully the airflow through the grills while riding will be enough to keep the parts cool. The charger has a little fan built-in.
The front grill in place.
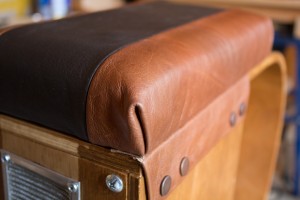
A close-up of the seat, showing the leather flaps added along each side of the battery box. These are to add a little detailing, and to hide the edge of the seat which is a tiny bit crooked 🙂
Here is the new 20″ wheel with disk brake mounted to the hub motor. I haven’t tested the brakes yet, but they should have plenty of stopping power now! I decided to go for white-wall tyres for a more classic look. The front wheel (which is on order) is a retro-styled wire wheel with a classic spoke pattern.
Still to do:
- Hang the front wheel once I get it
- Make some custom handle bars. The current ones don’t have quite enough range without hitting the fairing
- Get a new, longer, brake cable (doesn’t reach up to the bars)
- Mount the brake levers and thumb throttle
- Source lights and design a 12v lighting circuit
- Make the badges


This is seriously cool. Looking forward to seeing the finished project.
Thanks 🙂 Have been commuting on it already, but always a work in progress!