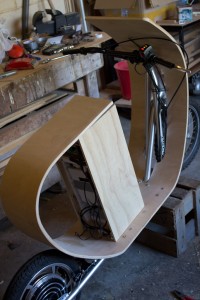
The first step before getting the scooter on the road, and trusting the integrity of my epidermis to the integrity of this contraption, was to put it all together.
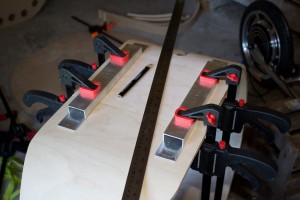
The first step was to drill the bolt holes to allow the body to be mounted to the frame. I placed the body on the frame, clamped the frame, then flipped the body up to get at the frame.
Once the holes were drilled (which sounds easier than it actually was), I flipped the body back around, placed it on the frame and bolted it down. The bolt holes are counter sunk on top and the M6 stainless bolts sit flush with the fairing.
The next step was attaching all the hardware up. I drilled a hole (25mm) through the body directly under the battery box. A second hole allows the cables to run up into the box – these two holes are offset so that water cannot splash directly up. All cables are cable-tied along the frame to the hole under the body. There are connections from the motor (power, control), the throttle (throttle, battery indicator, cut-off switch) and the brakes (cut-off).
I then fastened the battery box down with glue and screws, and I was ready to test!
Update: After attaching a GPS, I have measured top speed at around 32 to 33 km/h.

